


Being a successful survivalist means being able to handle any situation life throws your way and come out on top. Training and preparation are key, but what happens if you find yourself without any of the tools you’ve relied on? Could you still surmount any odds using only your skills and perhaps a knife?
Let’s jump into the worst case scenario of finding yourself in a SHTF situation without any tools but the clothes on your back and a trusty knife. Using only what is available to from the natural surroundings and what small amount of belongings you have, it’s time to construct one of the oldest tools used by hunters, the bow and arrow.
Gathering Your Bow Making Supplies
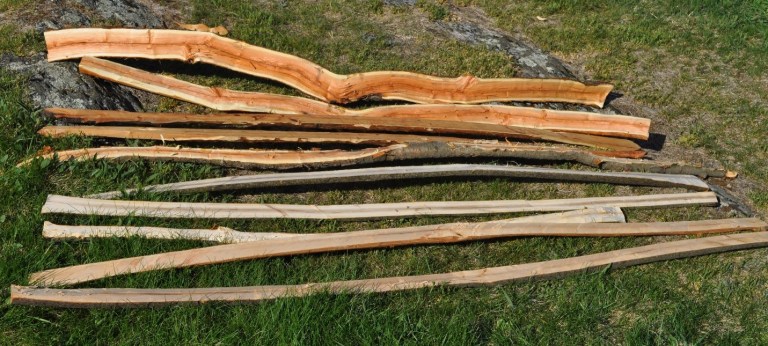
European Yew is suggested as the best material for making bows, but good old Hickory is great also.
It is important before you even begin shaping or sharpening your arrow heads to find the proper materials for creating a bow. Look around to find any dry, dead pieces of wood to use as the basis for your bow. The perfect piece of wood will be dry and hard but not cracked or damaged in any way that may render your bow inefficient. Find a piece that is :
- Around six feet in length
- Free of any noticeable cracks or knots that will weaken the wood
- Suitably thick enough to withstand the force of pulling back on the bowstring but still maintains a level of flexibility
- If at all possible stay away from using freshly cut pieces as the wood lacks the strength of dried wood and will be less effective

Once you’ve found a suitable piece of wood for your bow, begin looking for pieces to construct into arrows. The ideal wood should be about half the length of your bow and as straight as possible. Avoid using freshly cut saplings if you can.
Assess and Determine the Key Points of Your Bow
After locating a suitable log for your bow, it is time to determine the natural curvature of the wood so you can know in which direction to begin shaving the limbs.
Place the wood on a flat piece of ground and apply pressure to the center with one hand while keeping your other firmly against the top. The wood should swing to show you which in which direction it curves, the side that is facing you after the swivel will become the belly, the piece that faces you, of the bow. Find and mark the center of the bow on the side opposite the belly, the side which will face away from you.
Begin Shaping Your Bow
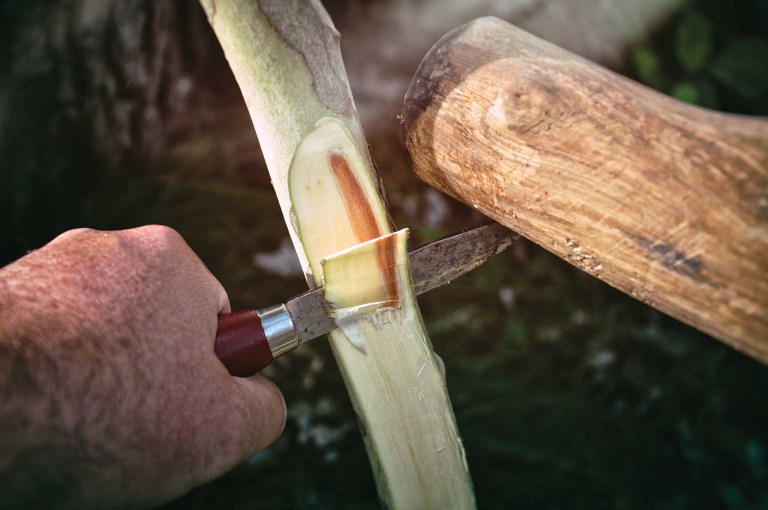
Using the mark on the center as a guide begin shaping your bow by gradually shaving away wood from either side, it is important though to shave wood only from the belly side of your bow. Leave about three to four inches extending from the center on both the top and bottom untouched, this will be your handhold.

As you begin to shape the bow, pay close attention to which portions bend and which remain stiff. You’ll want the bow to bend evenly across the bottom limb and upper limb so as you shape, flex the bow slightly to ensure it is indeed bending correctly. Continue flexing and shaping the bow until you have a consistent and strong bend.
Begin Notching and Preparing Your Bow for a String
Cut into either end of your bow, notching both sides deep enough to hold a bowstring but shallow enough to not compromise the integrity of the wood. As with before only cut wood away from the belly side, any damage or cuts to the back-end of the bow can render it inefficient or at worst cause it to break when under pressure.
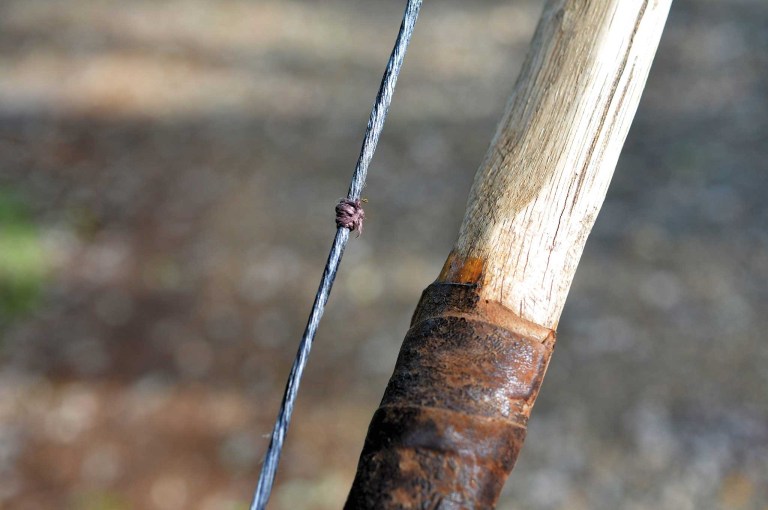
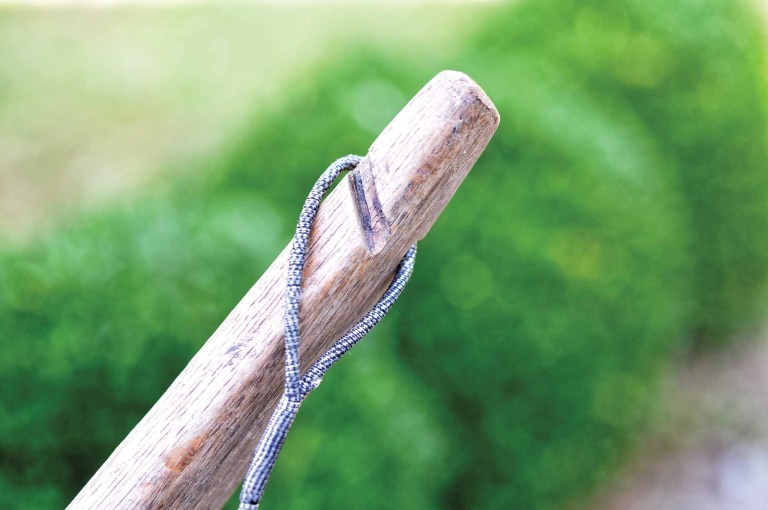
Stringing Your Bow
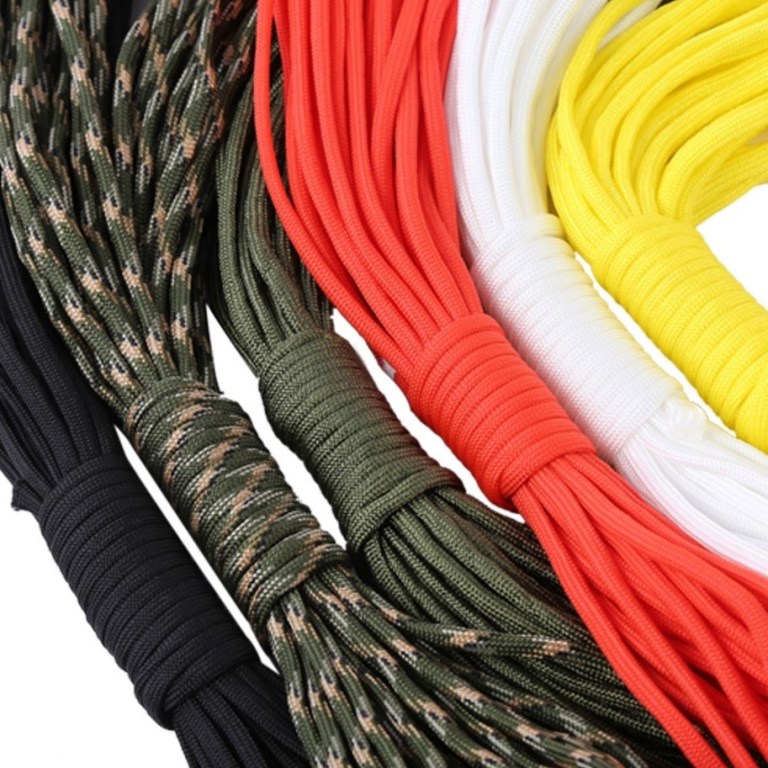
Now hopefully you paid attention to our 7 Survival Skills You Should Know post and learned the importance always carrying paracord. Using the paracord you’ve fashioned into a survival necklace or boot laces measure out a sufficient length to create a bow-string. Your string should be able to reach both ends of the bow while remaining taut enough to resist pulling. Once you’ve cut the proper length, tie a solid loop knot at each end and knot the cord around the bow at its notches.

Check Your Bow’s Strength and Construction
Now that you have a properly shaped and strung bow, it’s time to check its strength. Firmly hold your bow in hand with your lead arm extended fully while pulling back on the bowstring with your other hand. The bowstring should be able to be pulled into your draw hand is almost in line with your chin. Pay close attention to the bend in the bow to ensure it is bending evenly and does not need to be shaped further.

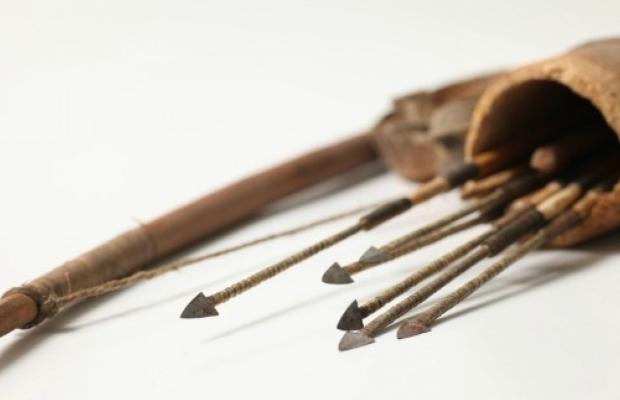
Making Your Arrows
The most simple form of an arrow consists of a thin shaft of wood shaved into a point on one side and notched for the bowstring on the other.
Begin by shaving away pieces of your arrow shaft until the entire length of the wood is smooth and rounded.
If you will be opting for a simple pointed arrow without an arrowhead, just simply shave one side into a sharp point and notch the opposite side. You can harden the arrow tip by heating it above a fire but pay close attention to not burning the arrow at all.
Optional Arrow Features
If you find suitable materials in the field you can also add:
- An Arrowhead by notching the wood and attaching the arrowhead securely to the shaft with a small bit of twine or paracord
- Add fletching to the bottom your arrow shaft by splitting the back-end of the shaft and inserting a feather. Use your remaining paracord to tie the split pieces back together
Now just gather your hunting camouflage and use your bow to catch dinner.
source : theprepperjournal