


In Surviving Large on Small Stuff, I was asked how I made the gig used to harvest the water moccasin in that post. Two months later – sorry for the delay – I give you my gig tutorial.
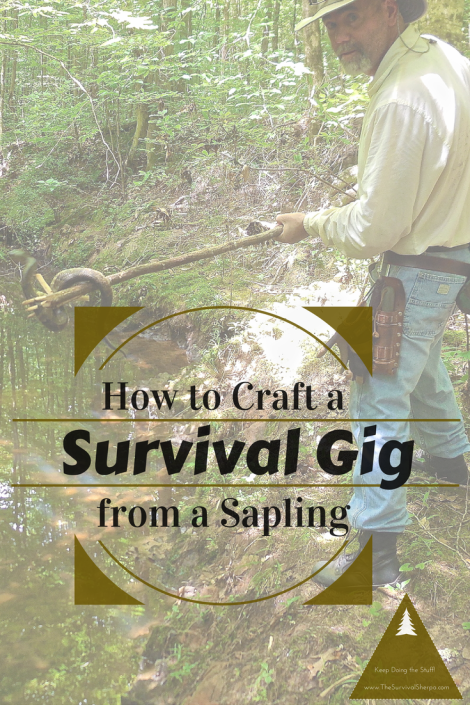
A survival gig is a simple tool that has been used, and is still employed by primitive hunter-gatherers and boy scout troops, throughout history to add protein to campfire meals.
Here’s the stuff you’ll need to build your own survival gig.
Gather the Stuff
- A sapling from a known species
- Cutting tool(s) (folding saw and knife)
- Cordage
Knowing the properties of trees comes in handy when selecting wood for your gig. As Chris, over at 35 Years of Scouting, discovered the hard way, along with 15 young scouts in his troop, the emetic properties of the Paw Paw tree on a recent camping trip. Everyone got sick. I appreciate his candor in sharing their lesson.
Step 1
Choose a 6 to 8 foot sapling from a hardwood family if available. American Beech trees scatter the understory near my shelter and personal space. I harvested a fairly straight sapling about 2 fingers in diameter and cut it to about 1 foot taller than my height. Bamboo is also a great selection since it grows like a weed (renewable) and crafts with ease.
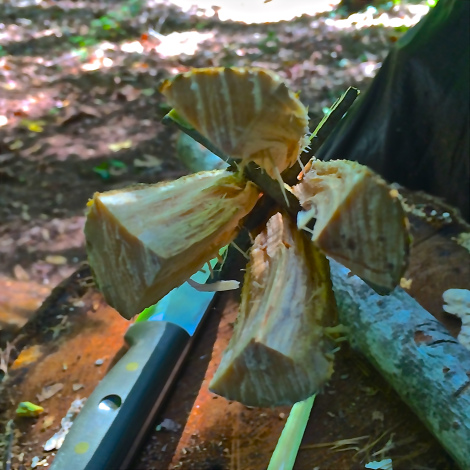
Step 2
Trim the shaft of all limbs. Place the larger of the two ends on a wooden anvil (stump or log). With your knife and a baton, make two perpendicular splits into the end of the shaft. The depth of each cut should go 7 or 8 inches. Make deeper cuts for a wide-tined gig.
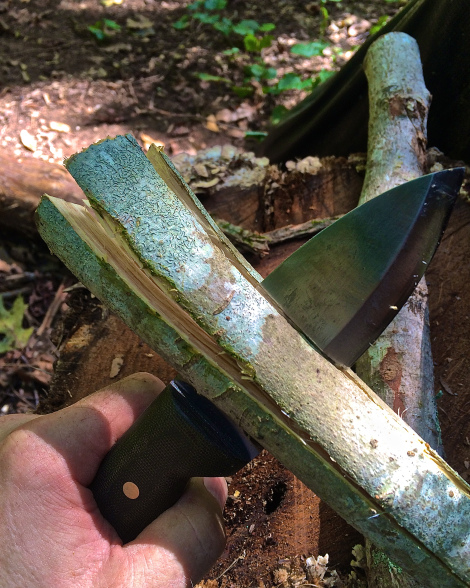
Strip the bark of the shaft the length of these splits. This can be done before making the splits. I did so after splitting to avoid handling the wet wood beneath the bark.
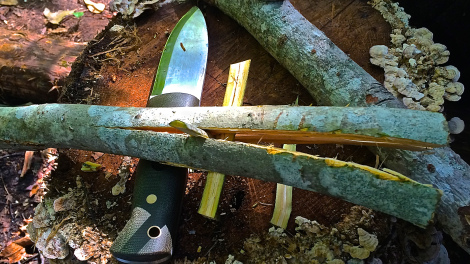
Step 3
Keep one pencil-sized limb from your trimmings. Split a 3 inch long green twig to make two spreaders. Wedge the first spreader into one split on the shaft. Once in place, install the other spreader into the opposite split.
Step 4
With your knife, remove wood from the 4 gig points. Avoid the triangle of death (area of spread legs between the crotch and knees) when crafting wood. Always cut away and to the side of your body. Another power technique for whittling is the chest lever grip.

For a chest lever, grip the knife with the blade facing away from your body. Lock your arms against your sides. Contract your back and shoulder muscles while expanding your chest to move the wood against the cutting edge of your blade. The knife is anchored to your chest and hardly moves. Using a chest lever is a powerful and safe way to craft wood.
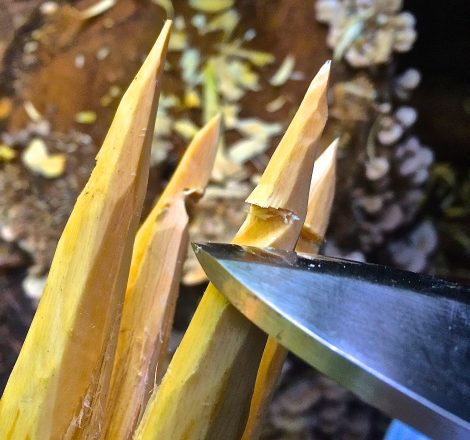
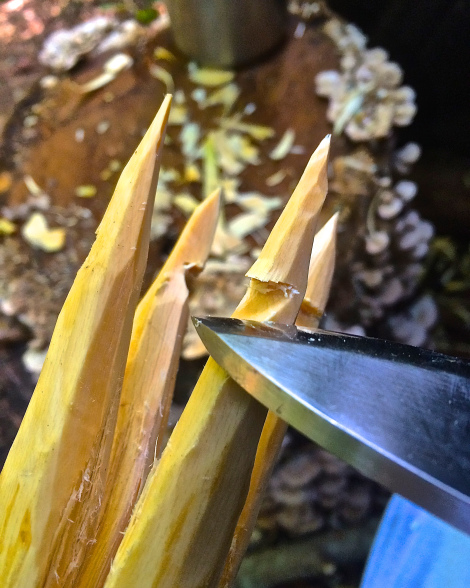
Step 5
Whittle gig points. Nothing fancy. Although I added a barb to each point on this gig. Totally unnecessary. Straight points work fine. As a matter of fact, the points are stronger without the barbs. But I wanted to test my new knife’s fine carving abilities. I’m pleased with my Red Barn Forge Bushcrafter! A little more dirt time and I’ll have a review on this knife for you.
Step 6
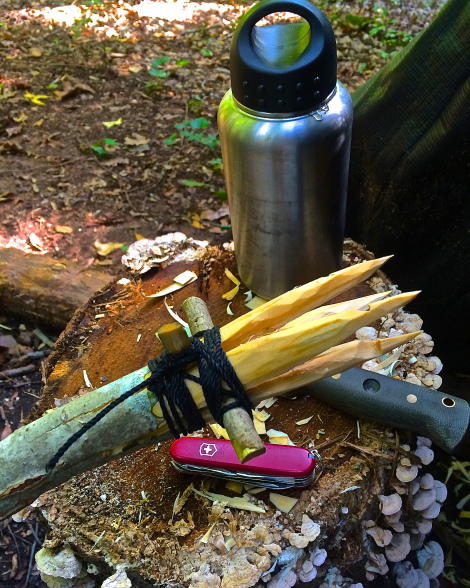
Lash the spreaders and shaft. I used 36# tarred bank line. Any cordage (natural or manmade) will do.
To preserve your cordage for later use, avoid tying hard knots. Use a timber hitch below the spreaders to get your lashing started. Tighten the cordage every 3 wraps with a toggle stick or, in my case, with the package carrying tool on my Swiss Army Knife.
Terminate the lashing with a clove hitch. Both the timber hitch and clove hitch are easy to tie and untie without the need to cut your cordage.
Saw or cut the spreader sticks almost flush to make your gig streamline. I missed a creek lobster (crawfish) when the spreader sticks glanced off a rock in tight quarters.
This is a fun and easy project for backyard bushcraft, camping, and/or survival training. There’s a large degree of satisfaction in making your own gear when building self-reliance skills. Plus, campfire food seems to taste better when harvested with stuff you’ve crafted yourself!
Keep Doing the Stuff of Self-Reliance,
by Todd
If you find value in our blog, Dirt Road Girl and I would appreciate your vote on Top Prepper Sites! You can vote daily by clicking here or on the image below. Check out all the other value-adding sites while you’re there…

Thanks for Sharing the Stuff!
Copyright: Content on this site (unless the work of a third-party) may be shared freely in digital form, in part or whole, for non-commercial use with a link back to this site crediting the author. All links in articles must remain intact as originally posted in order to be republished. If you are interested a third-party article, please contact the author directly for republishing information.