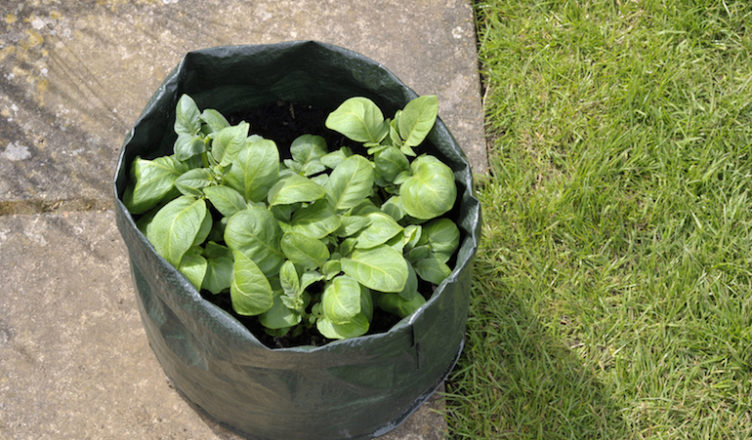
Planting potatoes in bags is the perfect way to grow spuds in small gardens, and on patios and balconies. Potatoes grown this way are also less susceptible to pests and diseases, offering you a better chance of achieving great results. Here’s everything you need to know about growing your spuds using this easy, space-saving method.
When to plant potatoes
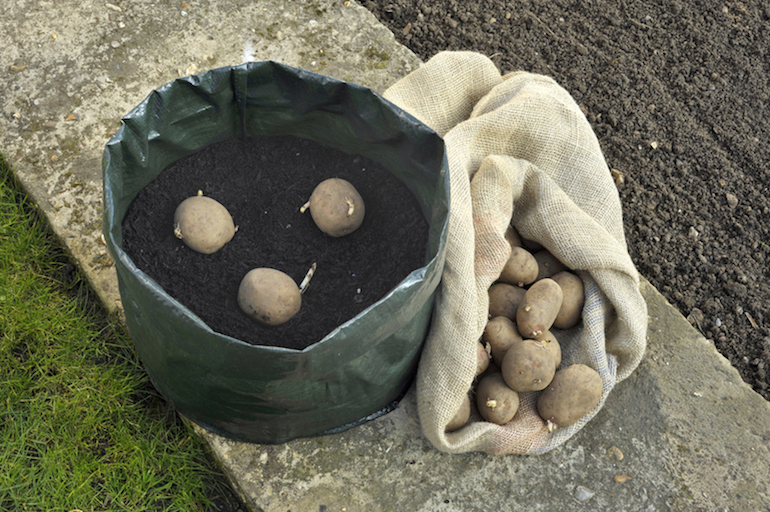
Plant your seed potatoes in March for harvesting throughout the summer and autumn. Or plant in August/September for Christmas new potatoes, also called Second Cropping Potatoes.
Use the table below as a guide to when to plant your potatoes, and do take a look at our potato selector guide to help you decide which varieties will best suit your needs.
| Cropping Type | Planting time begins | Final planting date | Harvest from planting date |
|---|---|---|---|
| First early potatoes | End of February | Late May | 10 weeks |
| Second early potatoes | March | Late May | 13 weeks |
| Early maincrop potatoes | March | Late May | 15 weeks |
| Maincrop potatoes | March | Mid May | 20 weeks |
| Second cropping potatoes | Early August | End of August | 11 weeks |
‘Chitting’ Potatoes
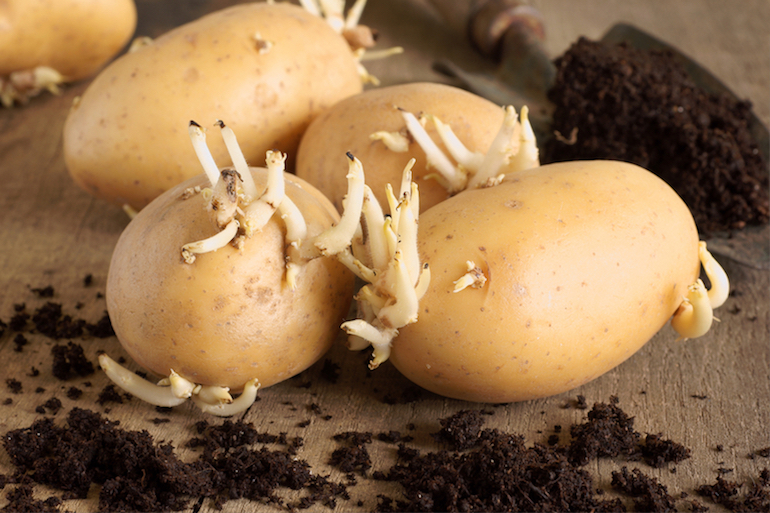
Seed potatoes, particularly earlies and second earlies benefit from ‘chitting’. That’s the process of allowing them to ‘sprout’ prior to planting, to produce faster growth and heavier crops. Second cropping potatoes don’t require chitting and can be planted straight away.
To chit your seed potatoes, lay them out in a cool, bright, frost free position (10C/ 50F). A reliable, tried-and-tested method is to arrange them in empty egg boxes or seed trays. You’ll notice the immature shoots sprout from one end of the potato – called the rose end. Seed potatoes are ready to plant when the chits reach 25mm (1″) in length, and should always be planted with the rose end facing up.

Seed potatoes are normally about the size of a chicken’s egg, but don’t worry if yours are different sizes – it won’t affect your harvest. In fact, during the Second World War people often cut larger seed potatoes in half or even smaller divisions to make them go further.
If you decide to cut your seed potatoes, that’s fine, but do leave them to dry for three or four days before planting in the usual way. Provided that each piece has an eye or two for the new growth to develop, these tuber divisions will still crop well.
How to plant potatoes in bags
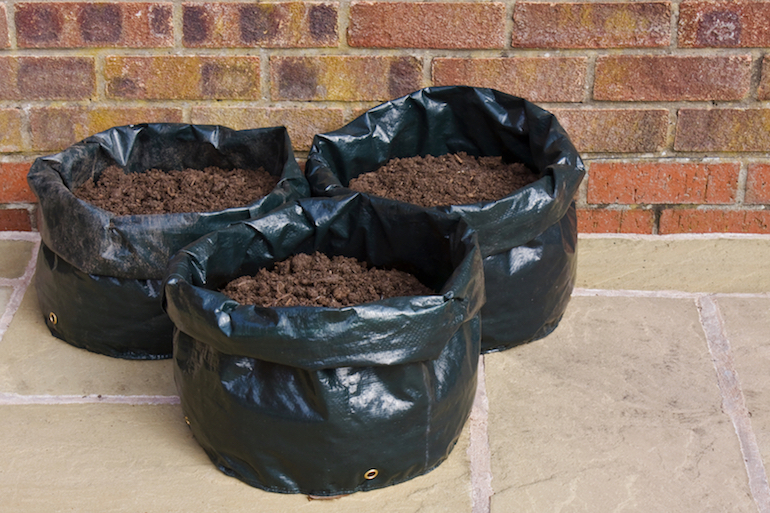
In the past, growing potatoes in bags has always involved the traditional ‘earthing up’ process – planting your spuds in minimal compost at the bottom of the bag and adding more as the plant grows.
But while some gardeners continue to swear by the ‘old school’ method, recent trials here at Thompson and Morgan show it’s not necessary as long as you make sure your spuds are protected from the sunlight by the soil and foliage. Remember – green spuds are inedible and you should discard them.
Here’s how to plant your potato bags:
- •Fill an 8 litre potato bag with quality multipurpose compost to about 2.5cm (1″) below the rim.
- •Carefully plunge a single chitted potato tuber into the compost with the shoots pointing upwards, to a depth of 12cm (5″) from the soil surface. Gently cover the tuber with compost.
- •Place the potato bag in a bright, frost free position, water regularly, and wait for your plants to grow.
- •Feed potato plants every other week with potato fertiliser and water the bags whenever the compost shows signs of drying out.
When to harvest your potatoes
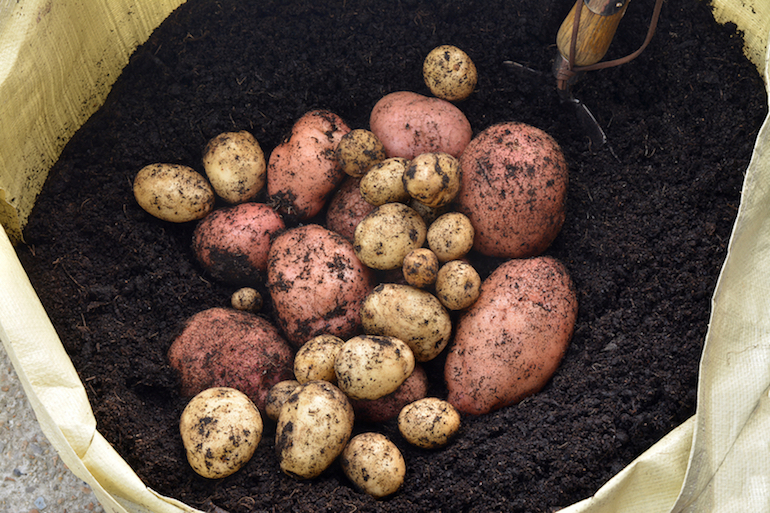
Harvest times vary depending on the growing season and how big you want your potatoes to be. The table above provides a rough guide for each crop type, but as a rule of thumb, start to harvest first earlies as ‘new potatoes’ when the plants begin to flower, approximately 10 weeks from planting.
With main crop varieties, you should allow the leaves and haulms (stems) to wither before cutting them to soil level and discarding. Now wait for two weeks before harvesting your potatoes so that the skins will have time to set properly. You should aso cut down and destroy the foliage should you see signs of blight.
Second cropping tubers – or Christmas potatoes, are usually ready to harvest from the end of November, or you can leave them in the soil until Christmas. Cut down the foliage as the leaves wither and yellow, and protect your spuds from frost by either covering your potato growing bags with a thick layer of straw or moving them into your shed or greenhouse.
If you’re not sure if your potatoes are ready, you can soon find out by having a gentle dig below the surface to check how big they are – if they’re too small just leave them for another week or so, lift them and enjoy!
How to store potatoes
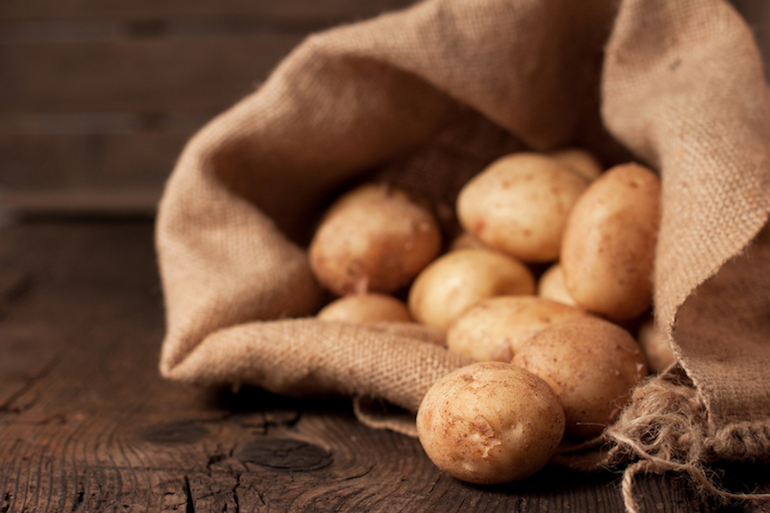
After harvesting, let your spuds dry out in a well ventilated spot for a few hours to cure the skin. Once dry, store them in paper or hessian potato sacks somewhere dark, cool, and frost-free. Avoid storing potatoes in polythene bags because they’ll ‘sweat’ and rot.
Now you know everything you need to grow your own delicious potatoes in bags. If you’d like to know how to grow potatoes in the ground, do check out our handy guide.

source : Sue Sanderson

