


A survival bracelet may look to some like a fashion statement, but this unique type of accessory is actually a functional item that can be used in an emergency situation. When this kind of bracelet is made from parachute cord, it is called a paracord survival bracelet. Learning how to make such a bracelet can be a fun and useful activity. Exploring a few facts about parachute cord and survival bracelets could help you to understand the many reasons that these handy accessories are in such demand across the world. Once you have explored the reasons for owning this kind of bracelet, you can get started on learning how to make paracord survival bracelets for yourself and your loved ones. You may even wish to host a survival bracelet party, so you and a group of guests can share the experience of making survivals bracelets for fun, fashion, and (most importantly) for emergency preparedness. When you assemble an emergency preparedness kit, adding a few survival bracelets is not a bad idea.
What Is Paracord?
Paracord is a shortened version of the term “parachute cord.” This type of cord is a lightweight rope that is made from nylon. Its original function was to suspend lines in the Second World War. This cord has a smooth texture; because it also lightweight and has an elastic feel, it is perfect for a broad assortment of functions today, from enabling water rescues to keeping cargo secured. It can be used as a thread for sewing gear that needs to be repaired, and it may also be utilized to create a line for fishing. It has even been used to make whips for those who ride horses or drive livestock. The rope can be utilized to secure camouflage or mosquito nets, fasten rucksacks securely, and position equipment on harnesses. This versatile cord is ideal for many outdoor activities, especially since it does not mildew as other materials might.

Survival Bracelets and Their Uses
Just as parachute cord can be a useful tool, survival bracelets made from paracord may be transformed into useful tools. By simply disassembling a survival bracelet, you may utilize the material from which it is made. You might rely on your survival bracelet to make a fire via the bow-and-drill friction technique. Another option is to use the cord from a survival bracelet to create a tourniquet or splint in an emergency medical situation. You could utilize the cord from your bracelet to make a snare trap for food. If you are hiking on an unfamiliar trail you can tie the cord around a tree limb to create an instantly recognizable marker. The uses and possibilities associated with survival bracelets are seemingly endless.
Making Your Survival Bracelet
Now that you understand how useful and essential a survival bracelet can be, you’re probably ready to make one. The first step you will need to take is to gather all of the materials necessary to make your bracelet. To make a basic survival bracelet with a release buckle, you will need:
- paracord that is approximately 1/8 inch in diameter – you will need about one foot of cord for every inch around your wrist (a wrist that is six inches would require about six feet of the paracord for this project)
- a release buckle
- measuring tape
- scissors
- a lighter

Once you have your materials assembled, measure your wrist in inches. Simply wrap the measuring tape around your wrist to do this. This will determine exactly how many feet of paracord you will need to create your survival bracelet.
Place the two ends of the cord together, and determine where the middle of the length of cord is. Then, pull the center of the cord through either end of the release buckle to create a loop. Once you do this, you will then pull the ends of the cord through the loop you’ve made. Tighten the loop until the cord is securely attached to the release buckle.
Next, disassemble the release buckle (but leave the cord where it is). Pull the ends of the cord through the other end of the buckle, and slide that part of the buckle toward the other piece. You will then measure the cord to be sure the length is the correct size for your wrist. You will measure in inches from the flat part of the pronged piece to the end of the other piece. Be sure to add one more inch than you need, so the bracelet fits comfortably on your wrist.
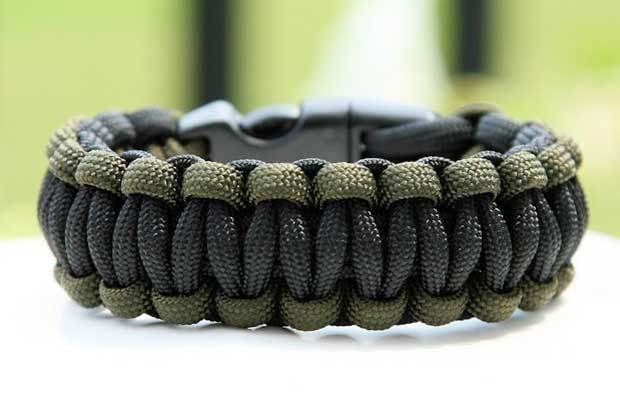
Once you have measured the cord length to ensure a proper fit, you will begin the process of knotting the cord. You might choose a basic knot, such as the cobra knot, for your bracelet. First, position the left side of the cord underneath the center strands of cord; then, position the cord on the right underneath the left strand, above the center strands, and through the left loop. Pull the cord to tighten it until the semi-knot is adjacent to the buckle. Repeat the entire process in reverse (starting with the right side first, and then the left). Continue alternating sides until the bracelet is complete.
Once the bracelet has reached the size you need, cut the loose ends and melt them together with the lighter. You should now have a survival bracelet that meets your needs and looks great!

I think this is one of the most important info for me. And i’m glad reading your article. But should remark on few general things, The website style is great, the articles is really excellent : D. Good job, cheers