


When I was about 10 years old, my Grandfather made my brother and I each a gift – a wooden maul for splitting wood. It’s made from a large 8″ diameter x 4-foot hickory log. I remember when I could barely lift it. It was a practical gift and a true working man’s tool.
While I didn’t appreciate the work that went into carving it at the time, it was the perfect tool for crushing the enemies of my favorite GI Joe and He-Man warriors. Almost 35 years later, I still have that maul. It’s as good now as the day I received it. It’s stained and a little beat up, but it’s a great tool that reminds me that all gifts don’t have to be bought. Some of the best ones are made.
So today, my gift to you is to show you how to make a wooden mallet or maul of your own or for a gift.
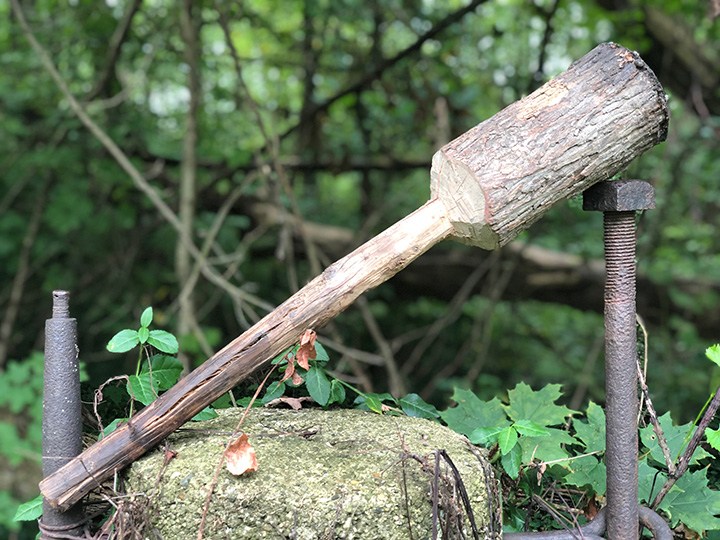
My 33-year-old hickory maul that my Grandpa made for me.
From driving in tent stakes to pounding a wedge for splitting wood, a solid wooden hand mallet has countless uses around base camp. Not only is it useful, it’s a really fun project. Besides, having a mallet on hand is always a good idea and packing in a hammer isn’t fun.
You can make your own in just a few minutes, while the bread is rising in the dutch oven. While these can be made as large as you’d want, the tutorial below shows one that is a perfect size for light duty pounding.

Start with a solid, seasoned log that is approximately 3-4″ in diameter x 12-15″ long. The first step is to saw in what’s called a “stop cut” to form the head of the mallet. Saw all the way around the log and leave the center of the log untouched.
This untouched area will ultimately form the handle of the mallet. The excess will be trimmed or batoned away in the following steps. Remember, you can always make the stop cut deeper but you can never put wood back in. Start by making the stop cut a little more shallow than you think you will need, especially if this is your first mallet.
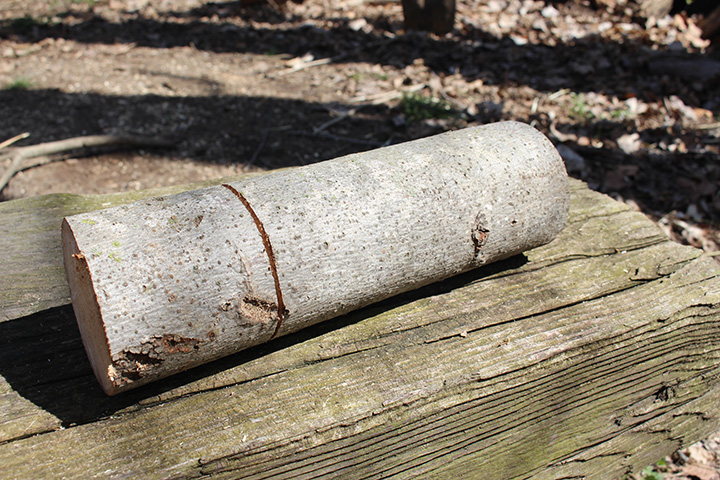
4″ x 12″ log with stop cut all the way around.
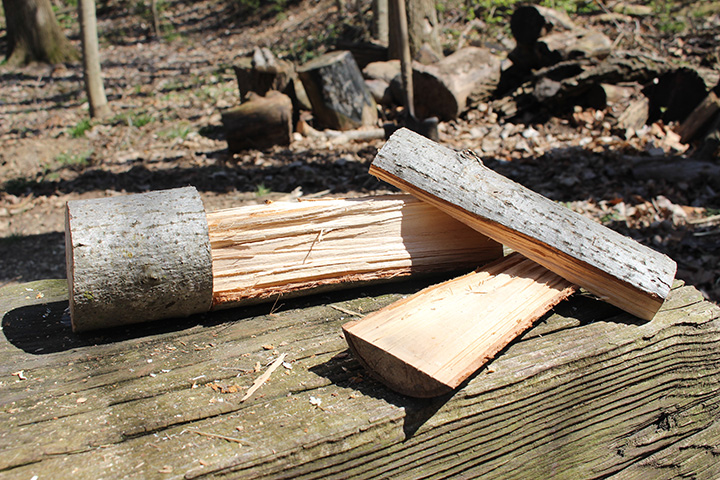
Next, begin to trim away the excess wood from the handle portion of the mallet. The stop cut will prevent you from accidentally splitting off the head portion of the mallet.
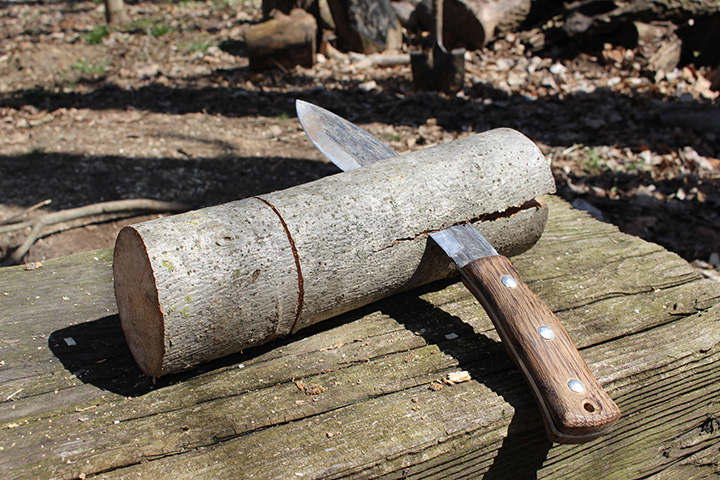
Using a knife to split away excess wood from around handle.
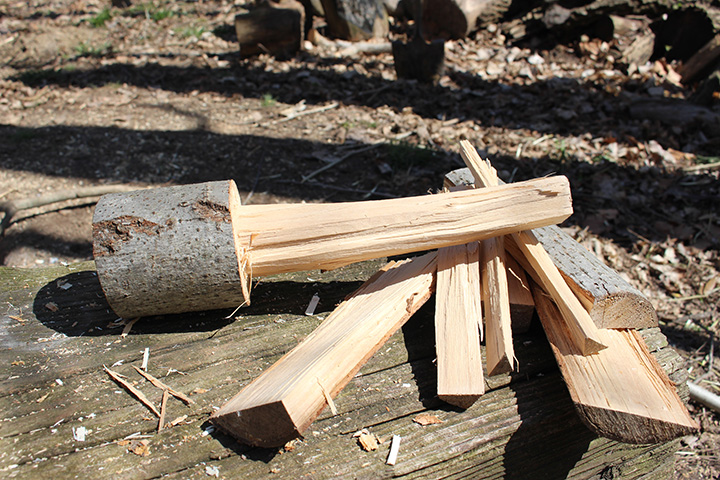
Continue to split and carve away wood from around the handle until it’s the desired diameter.
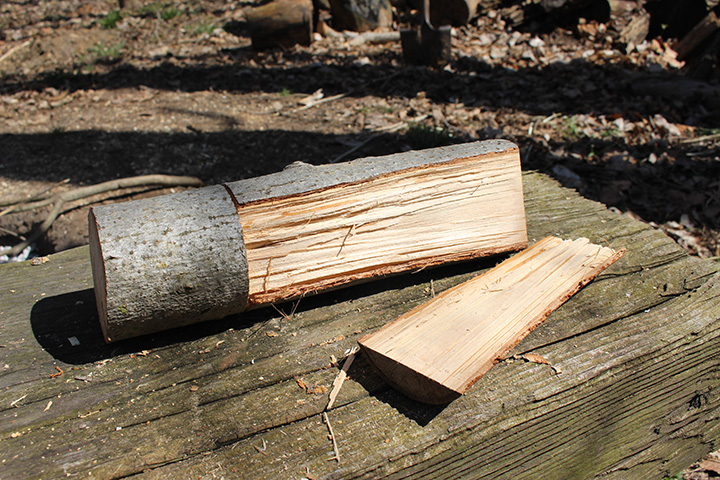
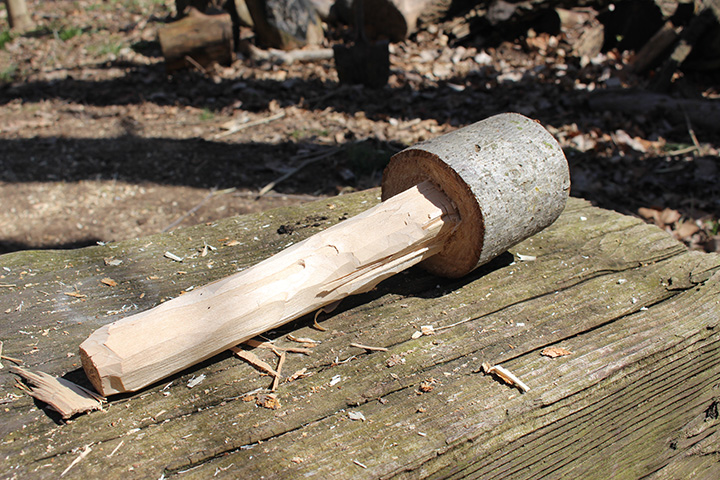
Once the handle is close to the diameter you’re wanting, simply finish it off by carving away any rough edges or splinters. A final coat of linseed oil or beeswax will protect the wood and keep your mallet in working order for years to come.
What uses can you think of for a wooden maul or mallet in the woods?
Remember, it’s not IF but WHEN.

source : Creek Stewart