


So you’ve noticed current events in terms of shortages at the grocery store and the many problems plaguing our centralized food system, from fires to food recalls to massive bird culls. You’ve decided to take matters into your own hands as much as possible, most notably growing at least some of your own food, and now you’re looking at planning your garden.
Good for you! A good food system has many layers, including a full pantry, local sourcing, and growing as much of your own as possible. There are many ways to provide for yourself, from hydroponics to urban foraging to container gardening and renting a plot from your local community gardens. So how do we make a plan to best utilize our resources and grow as much as we can? Read on!

The first thing required for proper garden planning is a food list.
This list should consist of the food you eat that can be grown in your grow zone. If you don’t know your USDA grow zone, plug the term into your favorite search engine along with your zip code. Knowing this is essential, because it tells you how long your growing season is.
Many plants, such as tomatoes, die at the first touch of frost, whereas potatoes and other frost-tolerant plants can take it down to a hard freeze. Once you know your grow zone, make a food list by listing everything on your plate that can be grown in your zone. Be very specific! If you’re eating salad, write down everything it’s made of. Grow what you eat and eat what you grow.
(Make sure to check out our free QUICKSTART Guide to building your own 3-layer food storage plan so that you have a better prepared larder.)
The next step in planning your garden requires a pencil and paper.
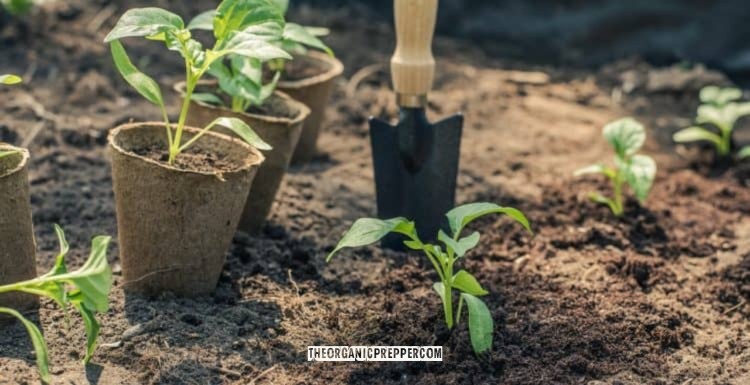
I’ve tried the garden planning apps, and honestly, I prefer the old-fashioned way. So let’s say our food list includes these items: tomatoes, peppers, salad greens (buttercrunch, Romaine, red lettuces, and arugula), spinach, radishes, beets, basil, potatoes, garlic, carrots, cucumbers, beans, peas, squash, and two varieties of mushrooms (red cap and almond agaricus.)
Now measure the space you have available. For the sake of this article, I’m going to discuss my own garden. I have one raised bed of 4’x8’, four beds of 4’x4’, and seven containers. I draw them on paper and measure out 1’ squares. Therefore, I have 32 1’ squares in my big 4’x8’ bed, 16 1’ squares in the other beds, three large containers, and four smaller, 20 gal pot-sized.
The next step is to consider companion planting.
After the tomato-kohlrabi pairing that worked out so poorly, my belief in this has increased considerably. Since potatoes get along with onions and spinach, they’ll go into two of the 4×4 beds. The other two beds hold strawberries, which are perennial.
I plant my garlic in those during my fall plantings. So, two beds will hold potato plants, one seed potato per 1’ space planted 6 inches down. Spinach and green onions are planted between the rows of potatoes using a process called intercropping.
The spinach will mature and be harvested in 4-6 weeks before the potato plants are big enough to shade it out totally. Also, spinach does prefer some shade. It’s not a sun lover, as potatoes are. I write all of this on my paper diagram.
The large 4×8 bed has 32 1’ squares. However, tomatoes will take up much more room than that, and spacing the plants out will allow for better airflow. This is a disease deterrent, as wet leaves invite disease-causing organisms. Trust me: I’ll have plenty of tomatoes!
In order to squeeze three plants into an 8’ space, I mark 2-1/2’ for each tomato plant. That’s one entire row in that bed. Keep in mind that your tomatoes will also require some support, so account for this on your diagram. Which plant goes into which row should be planned by the sun, such that the sun hits the lower plantings first. Otherwise, the taller plantings will shade the shorter stuff out.
There are a wide variety of greens and herbs go along with tomatoes
Greens and herbs like basil, lettuce, mint, borage, parsley, lemon balm, celery, and chive, to name a few, go along well will tomatoes. From my food list, I’ll plant 3-4 kinds of salad greens between the larger plants. Like spinach, these will mature quickly and be harvested before the larger plants have grown enough to shade them out. Beets and radishes can be planted between the rows also, as can carrots. I plan exactly which squares these will occupy.
Squashes (2 plants) tend to be huge but squat plants if they’re staked, or they can be trellised along with cucumbers (3 plants.) Since they are so big, I give them more room in those rows (2-1/2’ each), as I do with tomatoes. I stake so the vines will run along the ground, a kind of natural mulch and weed deterrent. Note exactly which rows and how much of each row this will require on your diagram. I account for every inch of space and every crop I plan to grow precisely on my diagram.
(Like The Organic Prepper? Be sure to check out our paid-subscription newsletter.)
How do you use containers when you’re planning your garden?
The 20-pound rounds are great for beans and peas. Since I can’t really grow animals well in the city, beans are a major alternative source of protein, so I grow as much as I can. I mark four plants per pot on my diagram, as well as where on my deck I plan to place those pots. I might even plant some summer savory and rosemary in those pots.
While radishes are good companions to beans, the pots are too small for them to coexist. Peas can be grown in the same way, so I mark this on my diagram. Three pots of beans, and one of sugar snap peas, are to be located in the corners of my deck near the rain gutters. I trellis these by threading some hemp twine over said rain gutter. Weight is a consideration, but when done correctly, I’ve had great results. The one year I neglected to use the twine, I had angular leaf spot, aphids, and no beans. Air circulation is good.
Don’t forget the mushrooms!
This year, I have 2 Earth box containers, 1’x 2’x 9” deep each. I mark the mushrooms (almond agaricus and wine caps) I intend to grow in them on my diagram. I include a notation of the phlox for the agaricus shroom, which will give the shroom some needed shade while attracting pollinators for the other crops. Then, I diagram what I plan to grow in the VegTrug, an elevated bed that’s slightly larger than 3’ square. There’s a nice ‘V’ in the middle for growing root crops, so why not? I can grow more beets OR radishes OR carrots, along with more salad greens and herbs here. By the way, the leaves of both beets and radishes are edible. When one crop is harvested, I can plant another, and I mark this on my diagram as well. (Learn more about cultivating mushrooms here.)
So there you have it!
A garden plan, written down on paper to guide you through the season for maximum yield. If you found this article useful, there’s more coming in our Urban Agriculture course, soon to be released! Watch for it, and until then, happy gardening?
source : Amy Allen